
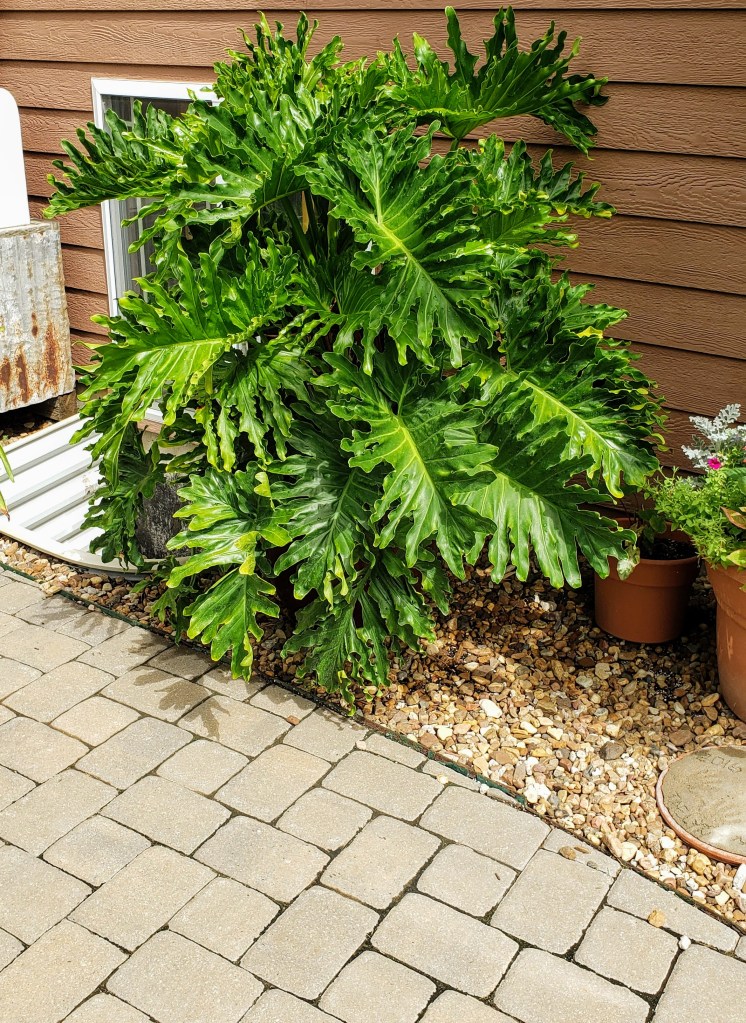
It is often helpful to set many houseplants outside for the summer so they can recover from the low light levels endured during the winter months. As soon as night temperatures stay consistently above 55 degrees F, houseplants can be moved to their summer home.
Choose a spot that has dappled shade, is protected from the wind and is close to water. A porch or a spot that receives shade from trees or buildings will work well. Putting houseplants in full sun will cause the leaves to photooxidize or sunburn because the leaves have become adapted to low light levels inside the house. Where possible, sink the pots into the ground to help moderate root temperatures and reduce watering frequency.
If you have a number of plants, dig a trench 6 to 8 inches deep (or deeper if you have larger pots) and long enough to accommodate all of your plants without crowding. Place peat moss under and around the pots. Peat moss holds water, helps keep the pots cool and reduces evaporation from clay pots. About every two weeks, rotate the pots a quarter turn to break off any roots that have penetrated the peat moss surrounding the pot and to equalize the light received on all sides of the pot. Water as needed. If the potting soil is dry a half-inch deep in the pot, it is time to water.
Repot if needed
It’s easy to neglect repotting an old house plant, but by leaving it in a root-bound pot, the plant’s health may be hampered. Before moving plants outdoors check to see if repotting is needed.
To check if your plants are becoming root-bound and need a larger pot, inspect the root system. First, knock the plant out of its pot. Watering several hours before attempting to do this will allow the plant to be removed more easily. On pots that are 8 inches in diameter or less, place one hand over the top of the pot with the stem of the plant passing between two fingers and turn the plant upside down. Then rap the edge of the pot against a table. The root ball should come away from the pot.
On pots that are more than 8 inches in diameter, a bit more encouragement may be needed. Place the pot on its side and rap the top edge of the pot with a rubber mallet. Turn the plant a few degrees, and repeat the procedure until the root ball releases. Once the plant is free of the pot, take a look at the root ball.
If you see a clear network of roots, the plant needs to be moved to a larger pot. If the original pot is less than 10 inches in diameter, move up in size 1 inch. If the pot diameter is 10 inches or larger, increase the pot size by up to 2 inches.
A high quality potting medium will make your life and the life of the plant easier. Use a recognizable name brand of soilless mix and avoid garden soil altogether. Growing plants in containers requires a growing medium that is better than regular garden soil.
It is important that the plant sit at the same level it was in the old pot. Add enough potting mix to the bottom of the new pot to ensure this. This mix will need to be firmed before the plant is placed on top of it so it doesn’t settle over time. After the plant is placed, fill in around the original root ball with potting soil. Again, firm this soil with a slender stick or tap the bottom of the pot on the table. If this firming is not done, this new soil will be so light and airy that water will tend to move through it rather than through the whole root ball. Water the plant thoroughly after repotting, but be especially careful not to overwater for about 2-4 weeks.
Remember that plants moved up to just the next larger-sized pot need time to grow new roots. The new soil tends to stay wet until roots penetrate, and overwatering can lead to root rot.
Fertilization
April or May through September is usually the best time to fertilize houseplants, so consider an application if needed, as the plants begin to actively grow.
